This illustrates how to create and customize QP18 toolbars. It covers: 1. Creating the toolbar. 2. Adding commands/macros. 3. Changing the icon for the macro.
Part 1: Creating a new QP18 toolbar
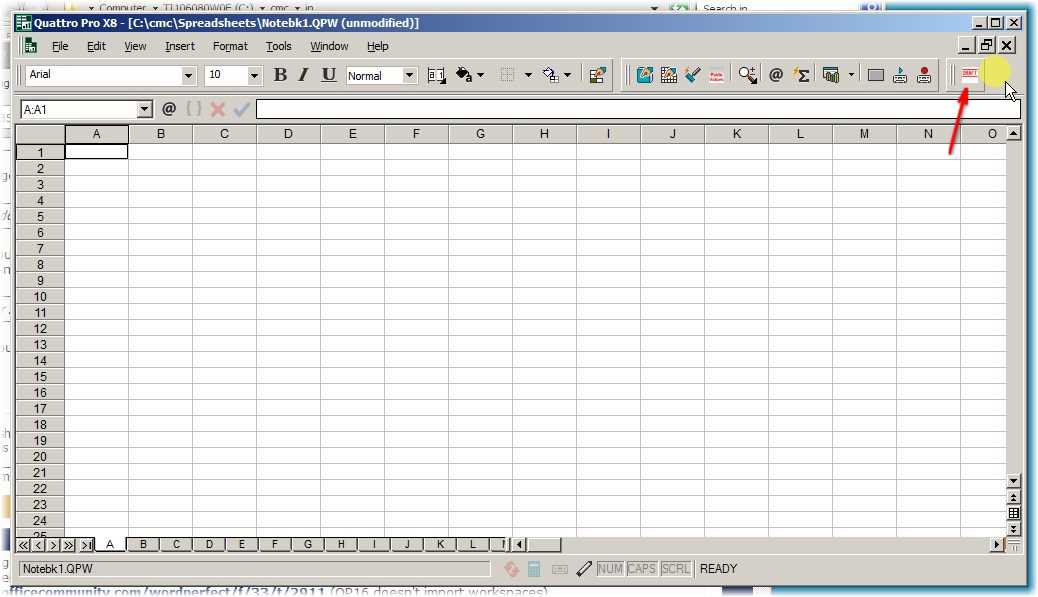
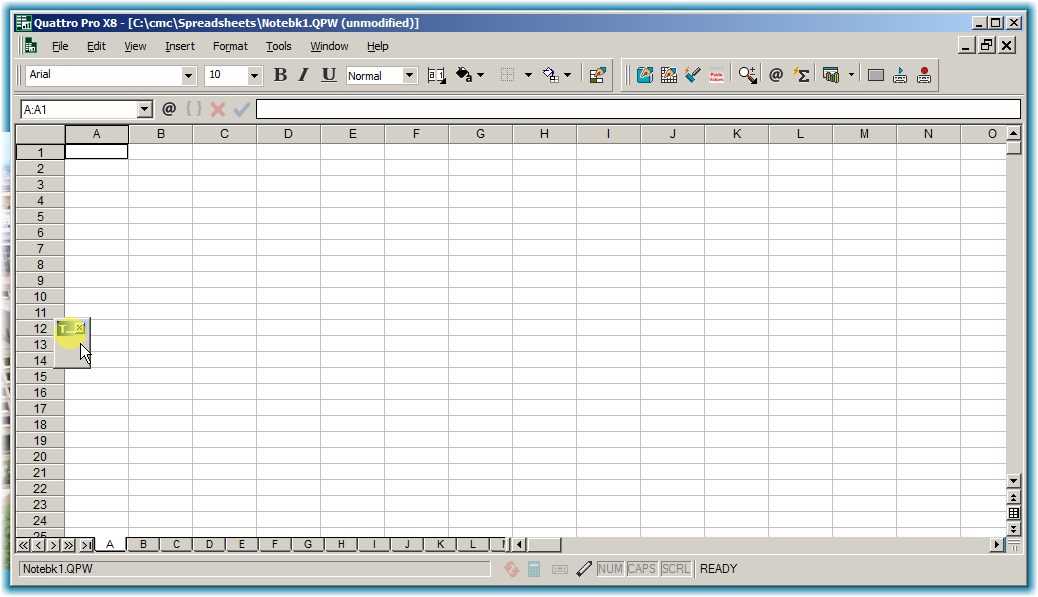
This is my starting screen. Underneath the menu bar, there are two toolbars. On the left is QP18's "Property bar" and on the right is a custom toolbar called "CMC" that I created. I deselected other QP18 bars.
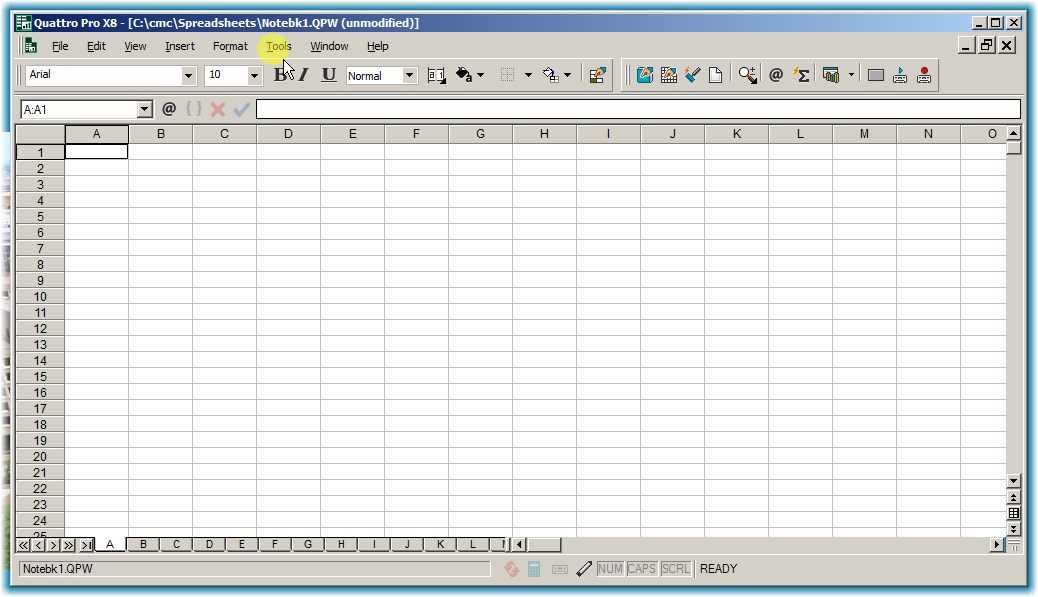
To add another new custom toolbar, click Tools and Customize on the menu. You get the following dialog box.

Clicking Customization and then (when it appears) Toolbar takes you to the next screen.
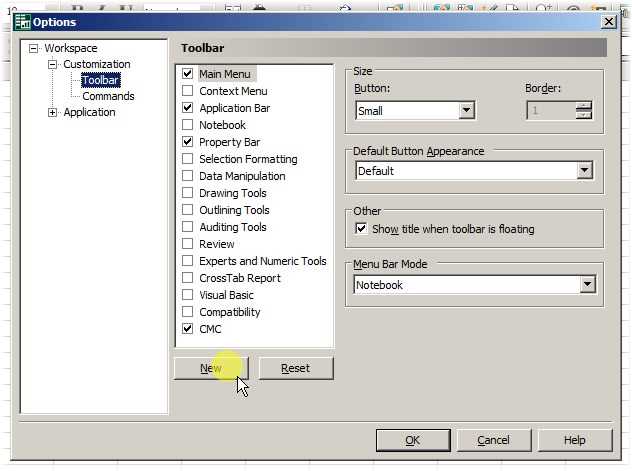
The checkboxes show what QP counts as toolbars (QP includes the menu as a toolbar), and whether they are onscreen.
To create a new toolbar, click New.
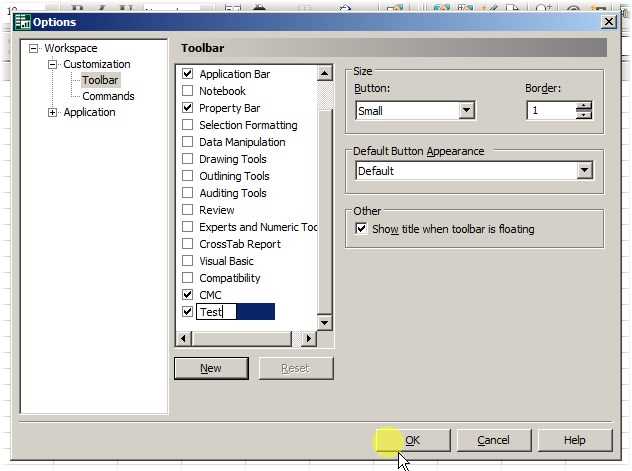
A new checkbox appears. Type in the name you desire for your toolbox. I chose "Test." Then click OK.
That will cause a new, empty, floating toolbar to appear somewhere on your screen as in the next shot.
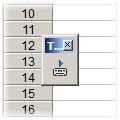
Result: The new, empty, floating toolbar.
Part 2: Adding a macro to a toolbar
As before, we start by clicking Tools > Customize.
Then, we click Customization, but this time, we click Commands when it appears.
Doing so brings up the following screen.
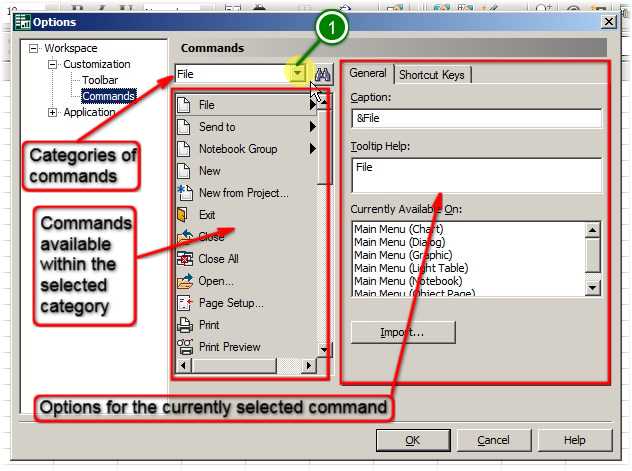
Click the dropdown arrow on the Commands listbox to get the available categories of commands (as shown in the next slide). The list of commands available within a selected category appears below that listbox.
Most of the commands are linked to menu items. They can be added to the toolbar simply by drag-and-drop, as illustrated in the following. Here, we deal with the more complex task of adding a macro.
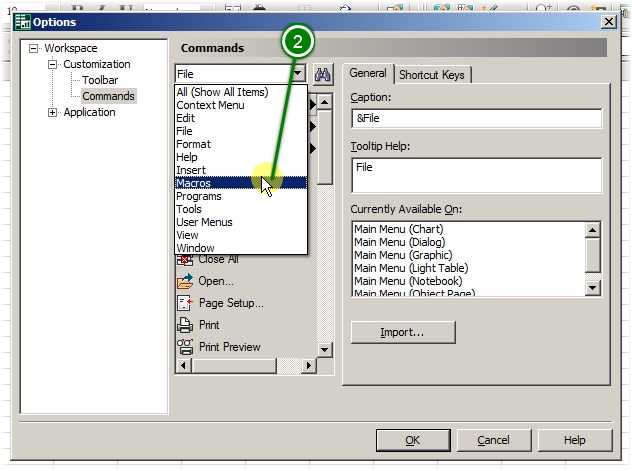
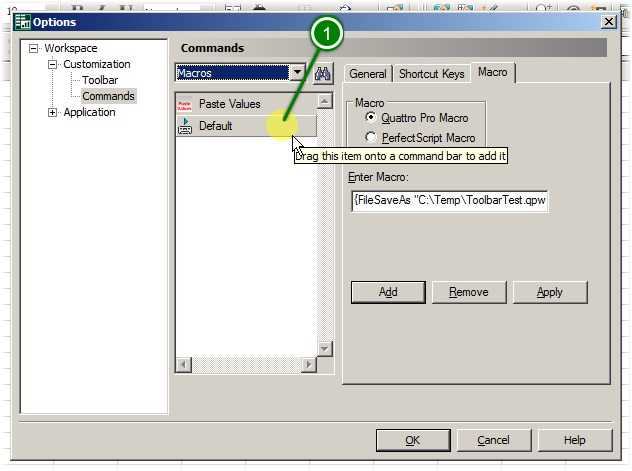
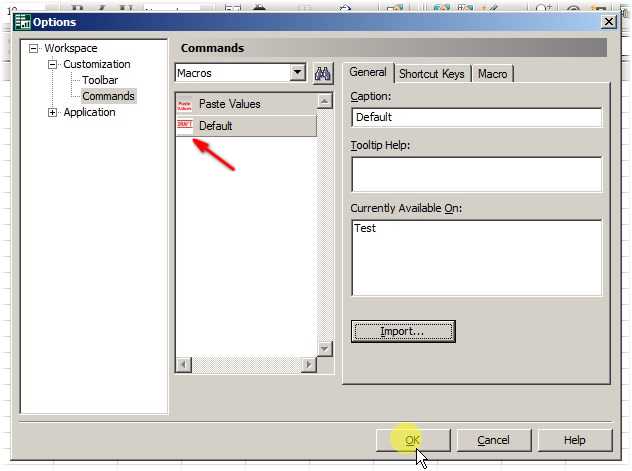
To add a macro, select Macros.
This will show a list of existing macros, if any (I already created one, so it appears at the top) and a line called "Default", with the image associated with a playable macro, as in the next slide.
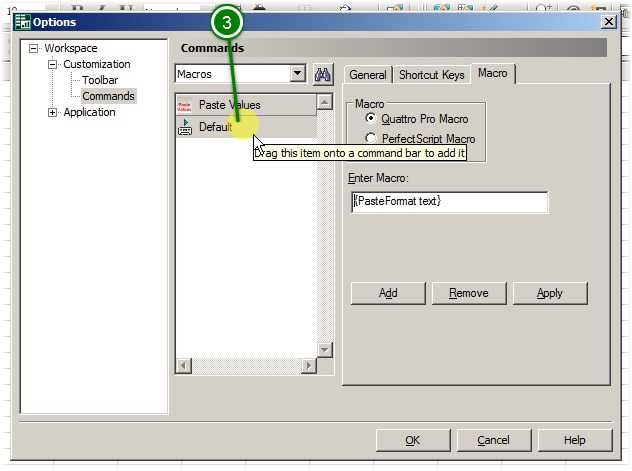
We'll deal with the name and icon for this macro later. For now, select that "Default" icon.
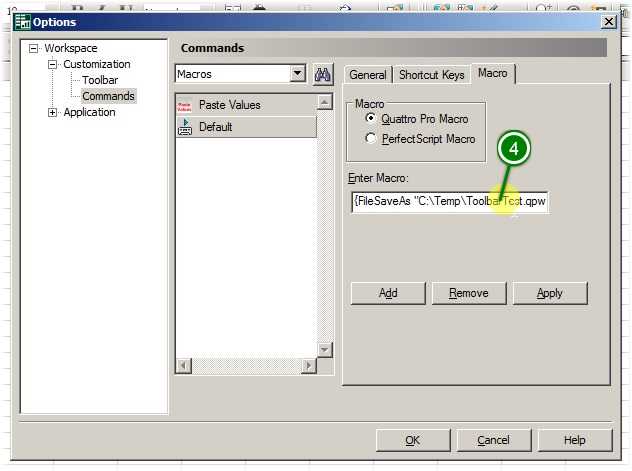
Then enter the macro in the correct format. I want this macro to save the current QP18 file with a particular name, but any other macro command may be inserted.
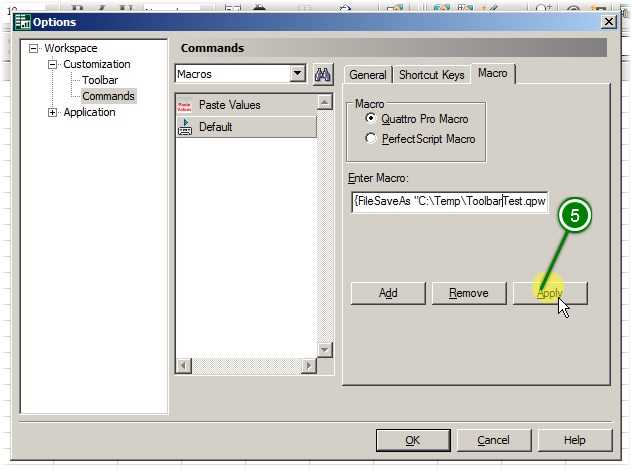
Then click "Apply." That macro command is now connected with the "Default" icon in the command list.
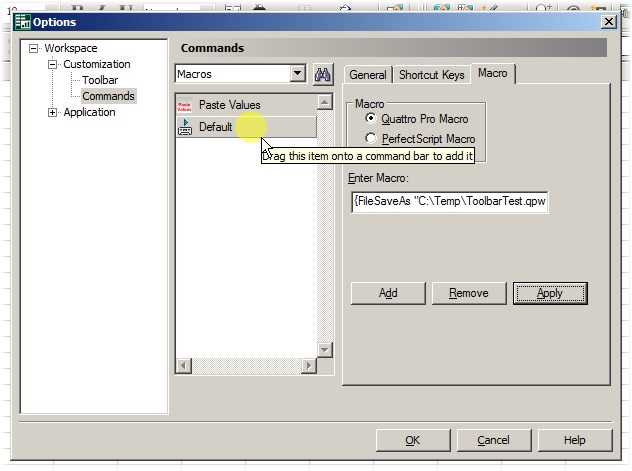
To add that icon to the new toolbar, drag it there and drop it into the toolbar.
The result appears in the next slide.
A macro has been added to the toolbar:
Part 3: Moving a floating toolbar to the main toolbar area
One moves a floating toolbar to the place where toolbars typically reside simply by another drag-and-drop operation.
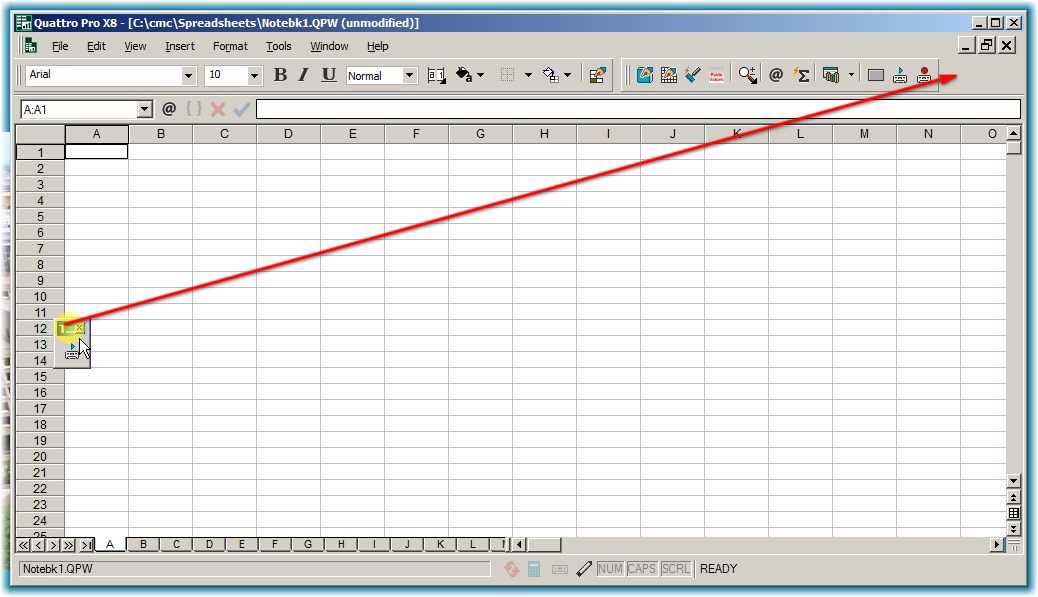
Drag the title bar of the new floating toolbar ...
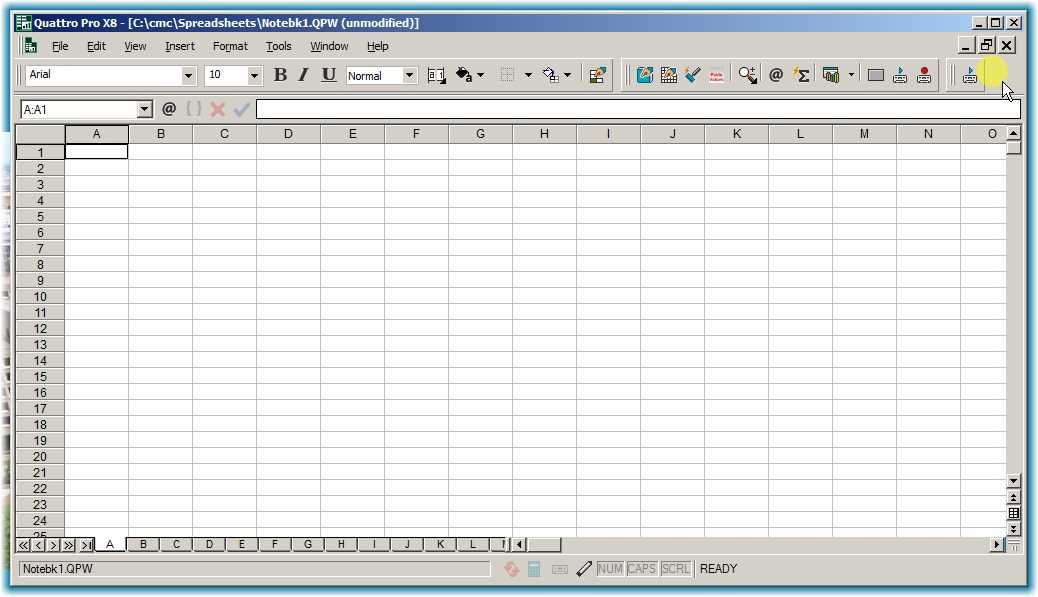
... And drop it where it should appear.
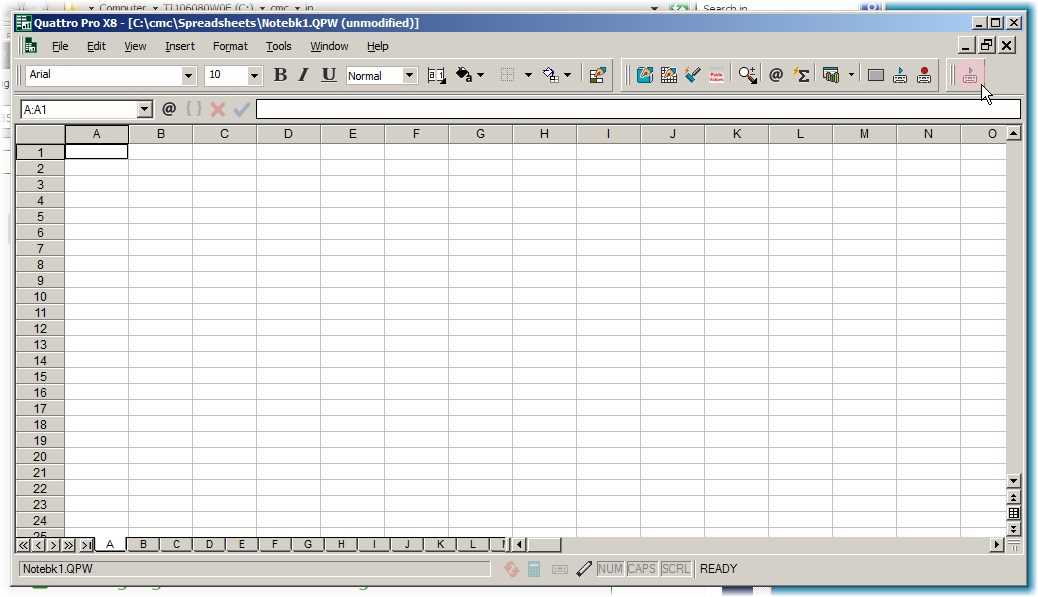
Once you get the toolbar where it should permanently appear, I recommend closing QP18 and reopening it. That should store the toolbar in the file system for future use.
Part 4: Choosing a different icon
Here, we will customize the toolbar item the quick way.
This assumes that you have already created a suitable icon by some other means and placed it as a file on your computer.
Right-click the icon to be changed ...
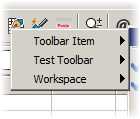
... select Toolbar Item ...
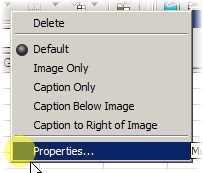
... select Properties.
This will return to the dialog box for this particular macro, as in the next slide.
Select the entry to be changed.
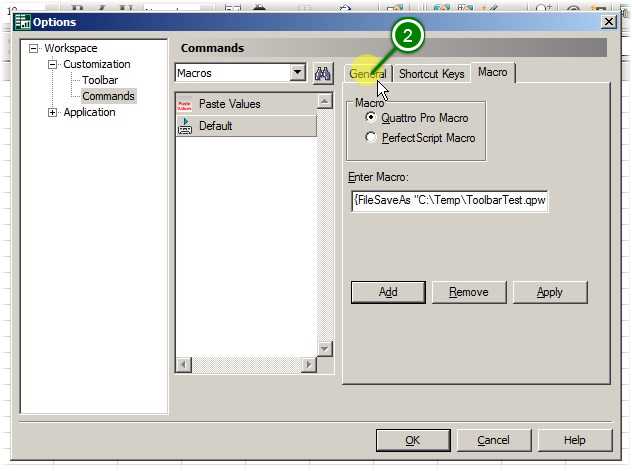
Then click the "General" tab.
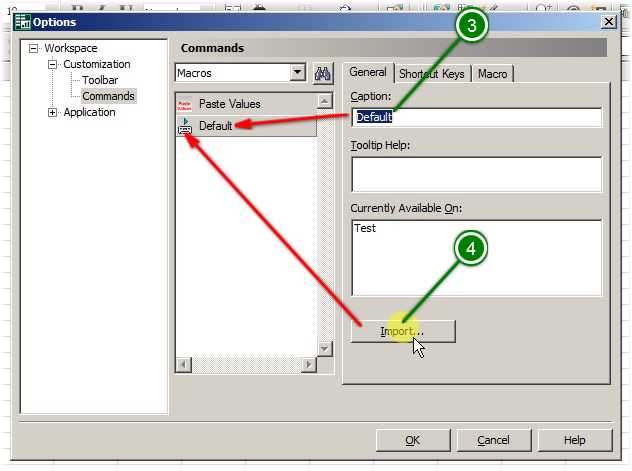
Here's where you can change the name of the icon to something else (from "Default") and change the icon.
The word "Import" does not connote that this is the way one changes an icon, but it is, and it works.
Clicking "Import" opens up a file selection dialog. You can navigate to a place where icons are stored, as the next slide illustrates.
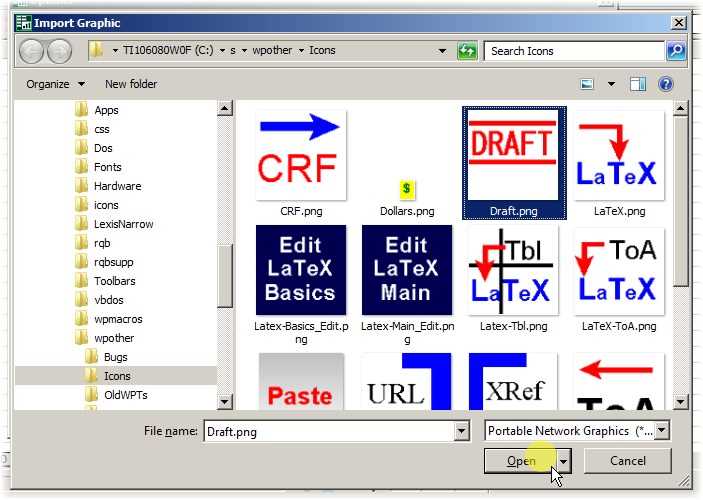
Here's a folder where I've created various icons, using Corel's Presentations software.
In this example, I select the Draft.png icon and click Open.
The system has changed the associated icon.
Click OK.
Result: the icon for the new toolbar item has been changed.